Graphics Projects - Click for graphics study materials.
Illustrator - Drawing with ShapesGraphics - Illustrator
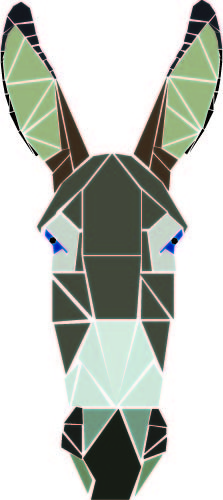
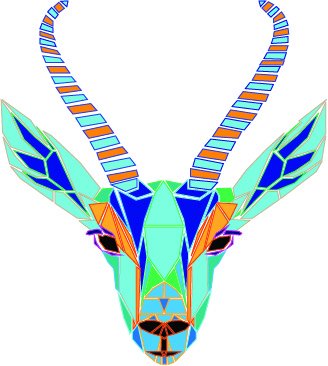
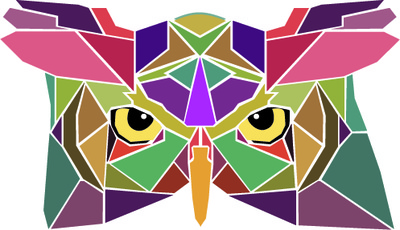
Essential Standard - 203 Essential Question: How can you create a professional logo that is resolution independent? Objective: Learn the tools of Illustrator Assignment: You have been hired as a graphic designer by Image Designs, Inc. They want you to draw and recreate some logos as vectors for the business. You are to follow the directions given by the project manager for the target audience to complete the project. Once complete then you should review the checklist for grading criteria before turning in your work. Complete a minimum of 2 of the animal shapes from the files on the right - Make an animal out of shapes, and learn to draw a bat. These recreation projects will teach you how to use the basics of Illustrator and prepare you for your logo design project. You will use only basic shapes to create these images. Create each recreation all on one 8.5 x 11 standard size paper layout. Save your completed graphic as an AI (Illustrator file) and then export as a PDF file. Label it as last name + first initial + shape (ex. pettywshape.pdf) and save in your graphics folder. Submit only the PDF file. Grading Criteria Checklist
This project is due on the date outlined in the syllabus. When you complete all work, work on the Xtra Credit projects. |
Files & Links for ProjectWorking with Shapes
| ||||
Illustrator - Tracing ObjectsGraphics - Illustrator
Essential Standard - 203 Essential Question: How can you create a professional logo that is resolution independent? Objective: Learn the tools of Illustrator Assignment: You have been hired as a graphic designer by Big Time Logo, Inc. They want you to replicate 2 logos for the business. You are to follow the directions given by the project manager for the target audience to complete the project. Once complete then you should review the checklist for grading criteria before turning in your work. Complete the 2 tutorials to the right - Canadian Flag, and Houston Texans. These recreation projects will teach you how to use the basics of Illustrator and prepare you for your logo design project. I have given you the item to trace for each logo recreation. Save them to your graphics folder and open them in Illustrator to begin the project. Save your completed graphic as an AI (Illustrator file) and then export as a PDF file. Label it as last name + first initial + flag (ex. pettywflag.pdf), last name + first initial + texans (ex. pettywtexans.pdf), and save in your graphics folder. Submit only the PDF file. Grading Criteria Checklist
This project is due on the date outlined in the syllabus. When you complete all work, work on the Xtra Credit projects. When you complete all work, go to this address and checkout the good and bad logo designs. You can also look here. Then as extra credit create several personal logo designs for yourself. These designs should say something about you. Do you like photography, skateboarding, or do you make your own music. Incorporate these elements into your logo. Save the file as last name + first initial + personal logo 1.pdf, last name + first initial + personal logo 2.pdf, last name + first initial + personal logo 3.pdf. |
Files & Links for ProjectCanadian Flag
Texans Logo
| ||||
Illustrator - State Fair CompetitionGraphics - Illustrator
Essential Standard - 203 Essential Question: How do you create a graphic design for the NC State Fair? Objective: Utilize graphic design to create a graphic for State Fair graphic competition Assignment: You have been hired as a graphic designer by the NC State Fair. The N.C. State Fair Graphic Design Competition is designed to feature creativity in graphic design. Competition is open to public school and home school students. The N.C. State Fair Graphic Design Competition is designed to feature creativity in graphic design. This year’s competition will focus on the design of an 11 x 17 poster in portrait orientation promoting livestock at the NC State Fair. All entries must contain the text ”2019 NC State Fair”, the dates “October 17-27, 2019”. You are to follow the directions given by the project manager for the target audience to complete the project. Once complete then you should review the checklist for grading criteria before turning in your work. Complete and submit this project once it has been completed. http://www.ncstatefair.org/2019/Competitions/Entering/GraphicDesignCompetition.html NC State Fair Rules and Guidelines Create a graphic design based on the information from the NC State Fair weblink above. You will use Illustrator to create your original logo design. Create your artwork on a 11 x 17 document at 300 resolution in CMYK mode. All logo designs will be judged and the top 5 in the state will win prizes. *You CAN NOT use images from the web for this project. You MUST create all images from scratch by drawing them in Illustrator. If you use any copyrighted material you will not receive any credit for this project. Save your file with the name: Class 103-Lot9 + First Name + Last Name.jpg. Make sure to Capitalize the first letter of your first name and capitalize the first letter of your last name. Grading Criteria Checklist 1 - Used Illustrator to create a vector logo design 2 - All images created are original designs 3 - Graphic is designed in a manner that is visually pleasing and creates an interest in the topic 4 - Graphic dimension size meets the requirements of the fair 5 - Graphic incorporates the elements and principles of design 6 - All images are drawn clean without errors 7 - Graphic incorporates theme of the fair 8 - Graphic is creative and well organized 9 - Graphic file is saved as a AI file and exported as a JPEG format as instructed 10 - Final graphic is submitted to MCHSDigitalMedia.com website as a JPEG with the instructed name for the project This project is due on the date outlined in the syllabus. When you complete all work, work on the Xtra Credit projects. |
Example Projects: |
Photoshop - Bubble ProjectGraphics - Photoshop
Essential Standard - 203 Essential Question: How do you alter a photograph using advanced editing techniques? Objective: Utilize graphic design to transform an image. Assignment: You have been hired by Super Fun Bubble Company. They want to create an ad campaign that shows images of real life but with objects replaced with a bubble. They want you to create these real life composites which will be used as stock images for their advertisements. Image should be 1024 X 768. You can replace an image and add the bubble to that original, or you can make an entire image out of the bubbles. Use the tutorial to the right to get you started. Save this project as last name + first initial + bubble as a PSD file. Also save as a JPG with the same name.. Add the final image to your Portfolio folder as well. Submit the JPEG file using the appropriate form to the right. Grading Criteria Checklist 1 - Used Internet to find high resolution images online for the project (NO blurry, pixelated, or copyright info) 2 - Saved images into Graphics folder to use in graphic editing software 3 - Graphic designed in a manner that is visually pleasing, balanced, and creates an interest in the topic 4 - All images behind bubbles cut out cleanly in Photoshop 5 -Bubbles are warped in a manner that looks realistic 6 - Details such as shadow or light shimmer are present and realistic 7 - Background looks real behind bubble. Should not look faked. 8 - The details of the original image are present in the new bubble image 9 - Graphic file is saved as a .PSD file and exported as a .jpg format as instructed 10 - Final graphic file is submitted in a .jpg format with the instructed name for the project, on time This project is due on the date outlined in the syllabus. When you complete all work, work on the Xtra Credit projects. |
Example Projects:Files For Project:
| ||||
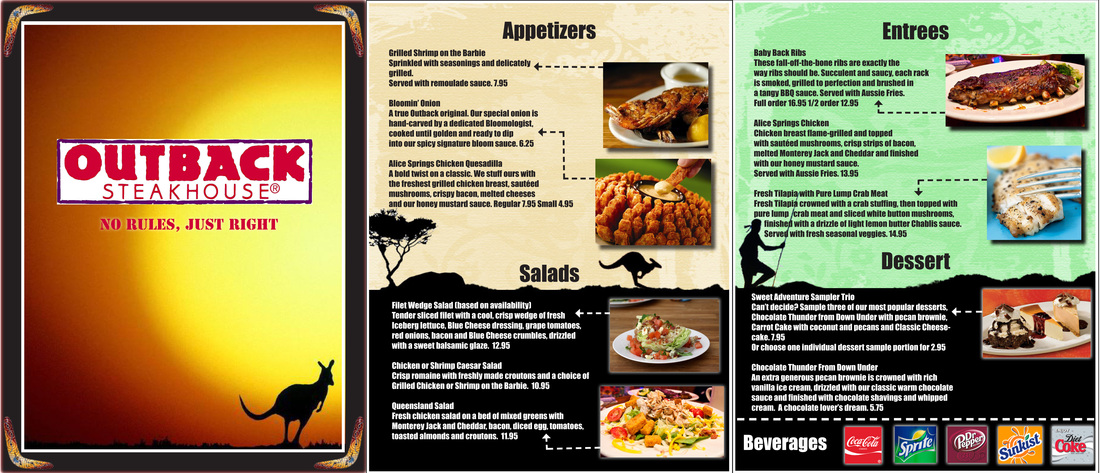
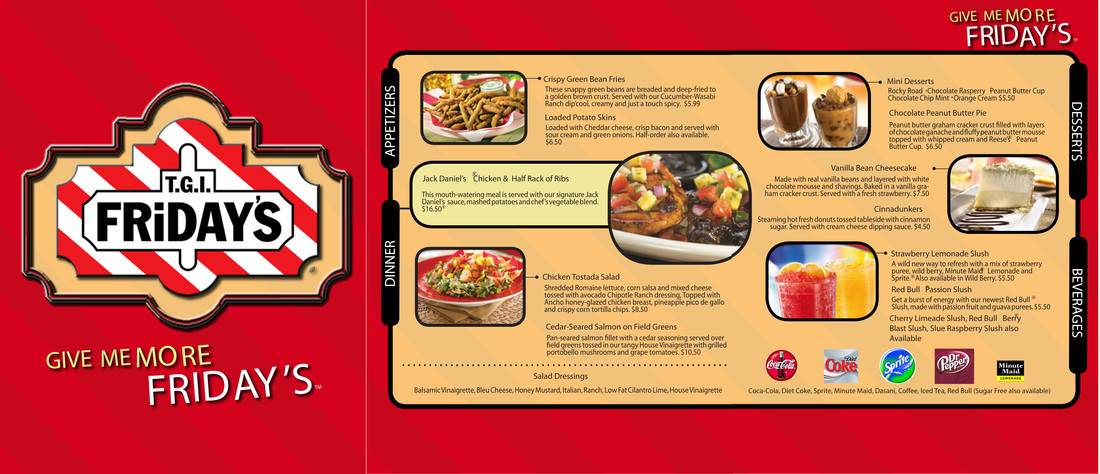
InDesign - MenuGraphics - InDesign
Essential Standard - 203 Essential Question: How do you design a graphical product that persuades and audience through appearance and information like a food menu? Objective: Create a graphically designed dinner menu in InDesign. Assignment: You have been hired as a graphic designer by The National Restaurant Association. They want you to redesign a restaurant menu for one of their businesses. You are to follow the directions given by the project manager for the target audience to complete the project. Once complete then you should review the checklist for grading criteria before turning in your work. Design a dinner menu for a restaurant using InDesign. There are 2 tutorials about setting up your project in InDesign and the basics of how to use InDesign. There is an example menu as well. You must follow the directions in the tutorial on how to set up your project before you begin, or you will have to start over. You must make sure you are working in Inches not Picas. There will be 4 total pages Page 1 - menu cover Pages 2 and 3 - graphics and layout of food items, including brief descriptions. Page 4 - Back Page Menu must include apps, salads, dinner items, and desserts. You should model this after a current food chain utilizing their logos and themes, but you are not to copy a menu from any business. You must be creative in your design and choice of fonts. NO MENUS SHOULD APPEAR ON A WHITE BACKGROUND! Save as an INDD file and as a PDF file. Submit the PDF file as last + first + menu. Save the PDF file to your Portfolio folder as well. Grading Criteria Checklist 1 - Used Internet to find high resolution images online for the project (NO blurry, pixelated, or copyright info) 2 - Saved images into Graphics folder to use in graphic editing software 3 - Menu designed in a manner that is visually pleasing, balanced, and creates an interest in the topic 4 - All images cut out cleanly in Photoshop and placed into InDesign 5 - Menu includes: appetizers, salads, entrees, desserts, and beverages 6 - Font used that is appropriate for the target audience and easy to read 7 - Menu utilizes business logo and color schemes 8 - Menu is 4 pages - cover, two inside pages, back page 9 - Graphic file is saved as a INDD file and exported as a PDF format as instructed 10 - Final graphic file is submitted as a PDF format with the instructed name for the project This project is due on the date outlined in the syllabus. When you complete all work, work on the Xtra Credit projects. |
Example Projects:
| ||||
Illustrator - Polygonal AnimalGraphics - Illustrator
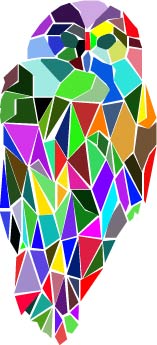
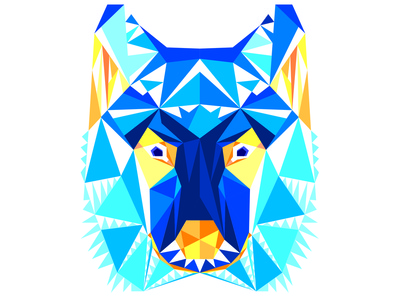
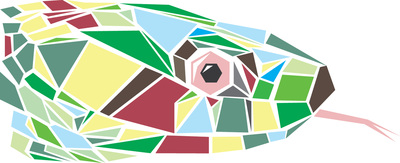
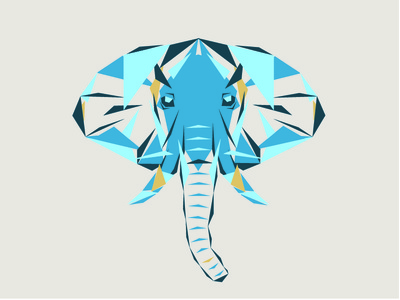
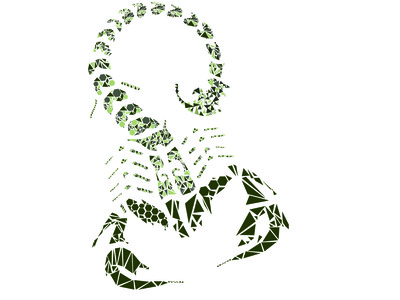
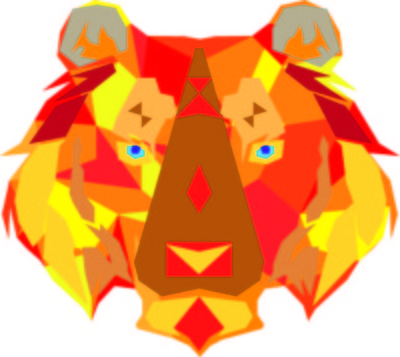
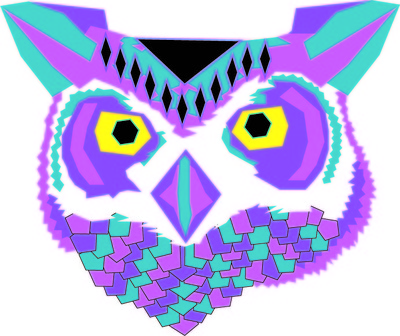
Essential Standard - 203 Essential Question: How can you create a professional vector logo with shapes? Objective: Use Illustrator's tools, menus, and palettes to create a complex vector logo with polygonal shapes. Assignment: You have been hired as a graphic designer by The North Carolina Zoo. They want you to create a colorful graphic animal theme. You are to follow the directions given by the project manager for the target audience to complete the project. Once complete then you should review the checklist for grading criteria before turning in your work. Complete and submit the online rubric for this project once it has been completed. Create a Colorful Polygonal Animal by selecting an image of animal online and then using polygonal shapes and triangles to design a colorful animal shape recreation Challenge yourself to include gradients, feathering, or transparency. You will be graded on a difficulty rating based on your illustrator technique and attention to detail as well as your creativity. See the examples for ideas. Your image size is 800 width and 600 height. Save your completed graphic as a AI (Illustrator file) and then export as a JPEG file. Label it as last name + first initial + poly (ex. pettywpoly.jpg) and save in your graphics folder. Submit only the JPEG file to the right. Grading Criteria Checklist 1 - Polygonal animal designed with a creative theme 2 - Design incorporates various shapes 3 - Design incorporates gradients or transparency 4 - Design incorporates bright decorative color scheme 5 - Animal created is easy to depict 6 - Graphic designed in a manner that is visually pleasing, balanced, and creates an interest in the topic 7 - Colorful scheme utilized fits with the target audience 8 - Images size is 800 x 600 pixels 9 - Graphic file is saved as a AI file and exported as a JPEG format as instructed 10 - Final graphic file is submitted as a JPEG format with the instructed name for the project This project is due on the date outlined in the syllabus. When you complete all work, work on the Xtra Credit projects. |
Example Projects: |
Photoshop - Product PackagingGraphics - Photoshop
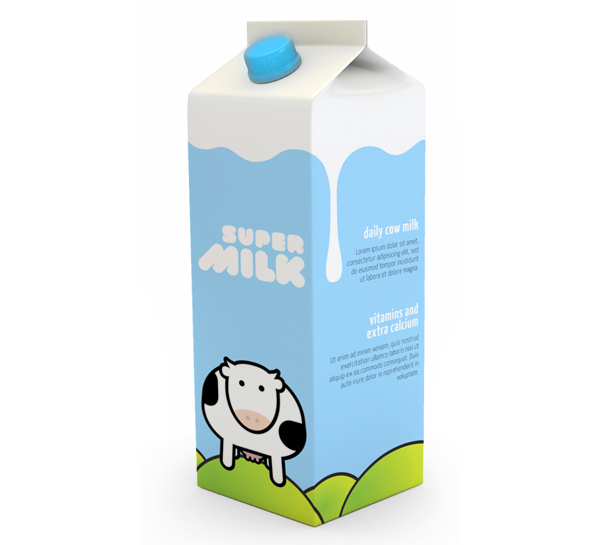
Essential Standard - 203 Essential Question: How can you create a professional logo designs for product packaging? Objective: Use Photoshop and Illustrator's tools, menus, and palettes to create a product packaging. Assignment: You have been hired as a graphic designer by Box Top Designs. They want you to create a logo from images you find online or to design an original logo that can be used in a new product. You are to follow the directions given by the project manager for the target audience to complete the project. Once complete then you should review the checklist for grading criteria before turning in your work. Complete and submit the online rubric for this project once it has been completed. Create a logo design to a product of your choice - blank can or bottle, pizza box, etc. You will be graded on a difficulty rating based on your technique and attention to detail as well as your creativity. See the examples for ideas. Your image size is 720 width and 480 height unless stated differently. Save your completed graphic as a PSD or AI file and then export as a JPEG file. Label it as last name + first initial + package (ex. pettywpackage.jpg) and then save in your graphics folder. Submit only the JPEG file to the right. Grading Criteria Checklist 1 - Original product designed with a creative theme 2 - Design incorporates various shapes and images 3 - Design incorporates gradients or transparency or lines 4 - Design incorporates bright decorative color scheme 5 - Design created is easy to understand 6 - Graphic designed in a manner that is visually pleasing, balanced, and creates an interest in the topic 7 - Colorful scheme utilized fits with the target audience 8 - Images size is 720 x 480 pixels 9 - Graphic file is saved as a PSD or AI file and exported as a JPEG format as instructed 10 - Final graphic file is submitted as a JPEG format with the instructed name for the project This project is due on Friday, Feb. 8. When you complete all work, work on Xtra Credit projects. |
Example Projects:Look over these sites to learn more about product packaging.
Choose one of the blank templates to complete an original product package How to Create Package Design that Sells Package Design Examples More Package Design Examples Perspective Warp Tool Class Tutorial
Additional Blank Product Packages
| ||||||||||||
Illustrator - Smiley/EmojiGraphics - Illustrator
Essential Standard - 203 Essential Question: How can you create a professional vector logo with a theme and slogan? Objective: Use Illustrator's tools, menus, and palettes to create a complex vector logo with theme. Assignment: You have been hired as a graphic designer by Have a Nice Day Graphics. They want you to create a smiley theme around a topic of your choice similar to the popular Have a Nice Day smiley. You are to follow the directions given by the project manager for the target audience to complete the project. Once complete then you should review the checklist for grading criteria before turning in your work. Complete and submit the online rubric for this project once it has been completed. Create a “Have a Nice Day” Smiley that has some sort of theme. Challenge yourself to include gradients, feathering, or transparency. Your smiley should have lots of shapes. You must also add a slogan to your smiley with an appropriate font. The slogan should be a variation on the “Have a Nice Day” slogan, based on your theme. You will be graded on a difficulty rating based on your illustrator technique and attention to detail as well as your creativity. See the examples in this folder for ideas. Your image size is 800 width and 600 height. Instructions for how to set up your canvas are in this folder. Save your completed graphic as a AI (Illustrator file) and then export as a JPEG file. Label it as last name + first initial + smiley (ex. pettywsmiley.jpg) and save in your graphics folder. Submit only the JPEG file in the digital drop box. Grading Criteria Checklist 1 - Smiley designed with a creative theme 2 - Smiley incorporates shapes that include more than just a circle 3 - Smiley incorporates gradients or transparency 4 - Smiley has an original slogan 5 - Font used is appropriate for the target audience 6 - Graphic designed in a manner that is visually pleasing, balanced, and creates an interest in the topic 7 - Colors used fit with the target audience 8 - Images size is 800 x 600 pixels 9 - Graphic file is saved as a AI file and exported as a JPEG format as instructed 10 - Final graphic file is submitted as a JPEG format with the instructed name for the project This project is due on the date outlined in the syllabus. When you complete all work, work on the Xtra Credit projects. |
Example Projects:Files & Links for Project
| ||||
Photoshop - Trading CardsGraphics - Photoshop
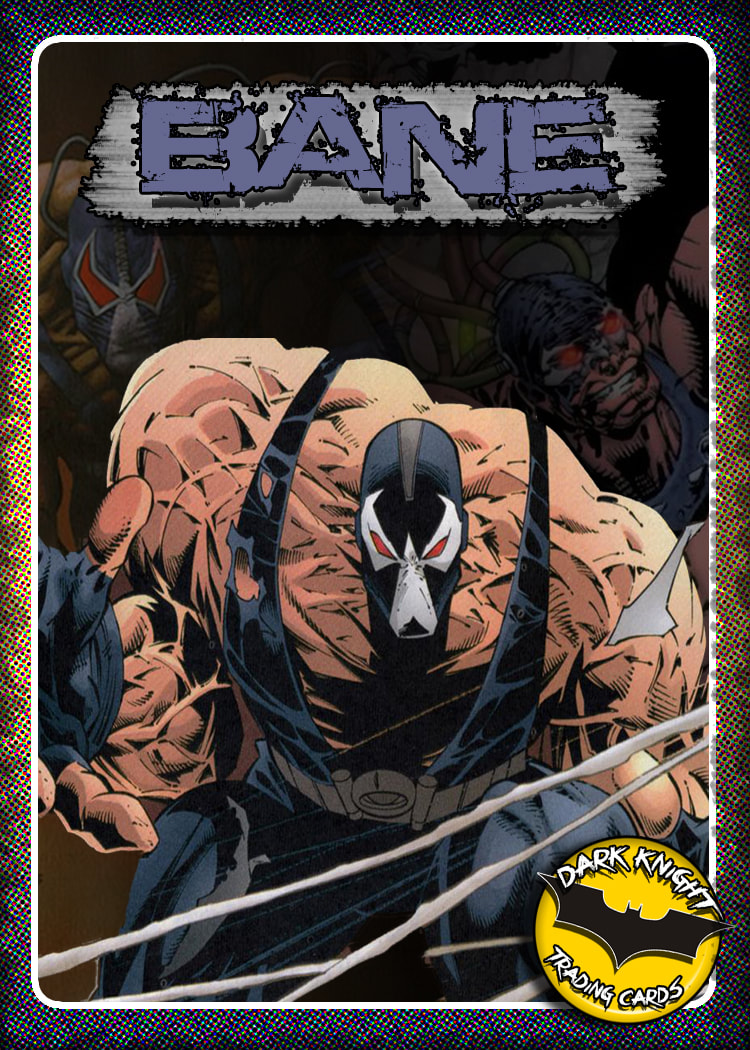
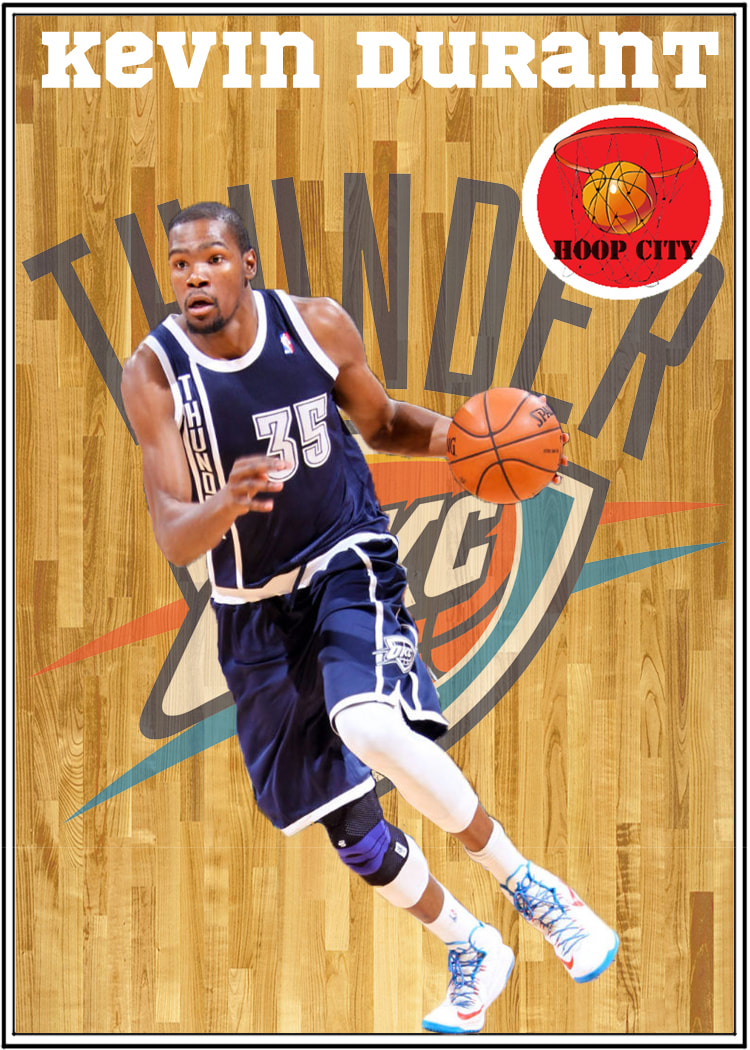
Essential Standard - 203 Essential Question: How is depth used in graphic design? Objective: Discuss elements of depth and design in graphic production. Assignment: You have been hired as a graphic designer by From the Sidelines Productions. They want you to design trading cards for their clients. You are to follow the directions given by the project manager for the target audience to complete the project. Once complete then you should review the checklist for grading criteria before turning in your work. Quality graphic designers understand depth and product relationship. Depth provides that extra pop to your design. Somewhere you often find creative depth design is in trading cards. Create 5 trading cards for a sports team, athlete, car, band, television show, or movie that use image within image depth or product relationship depth. Create a name for your card company (i.e. Upper Deck), and design a logo and look (i.e. borders or symbols) that will appear on each card the same way in the same place. Remember to make use of company or product colors. Each card must have the same look and feel. You must cut the objects out cleanly and use multiple layers. You cannot use a plain photograph with background as your image. Experiment with different font styles until you find the one that fits just right with your product. You can use dafont.com to download fonts if you like. Look at examples online to get ideas. Have fun with this project. Experiment with opacity and layer styles to give your design that extra pop. Look up tutorials online for creating different text effects in Photoshop for even more creative work. For this project we will work in inches, not pixels. Your image size should be the actual size of a trading card - Width 2.5 inches, Height 3.5 inches. Make sure to change from pixels to inches! You will also have to change your resolution to 300! You can flip the dimensions to make horizontal if you like. Save the images as lastname+firstinitial+card1 and lastname+firstinitial+card2, etc. Save as a PSD and JPEG. Submit only the JPEG version. Add the final JPEGs to your Portfolio folder. Grading Criteria Checklist 1 - Used Internet to find high resolution images online for the project (NO blurry, pixelated, or copyright info) 2 - Cards are designed in INCHES 2.5 x 3.5 with 300 Resolution 3 - Cards designed in a manner that is visually pleasing, balanced, and creates an interest in the topic 4 - All images cut out cleanly using layer masks 5 - Original name for card company created and a logo designed for the company 6 - Font used that is appropriate for the target audience and easy to read 7 - Logo is in same place on every card 8 - 5 cards designed with same look and feel 9 - Graphic file is saved as a PSD file and exported as a JPEG format as instructed 10 - Final graphic file is submitted as a JPEG format with the instructed name for the project This project is due on the date outlined in the syllabus. When you complete all work, work on the Xtra Credit projects. |
Example Projects: |
Illustrator - PortraitGraphics - Illustrator
Essential Standard - 203 Essential Question: How do you create line art from a photograph? Objective: Use Illustrator to learn the tools of portrait design. Assignment: You have been hired as a graphic designer by Liquid Portrait. They want you to design a lifelike portrait of an individual. You are to follow the directions given by the project manager for the target audience to complete the project. Once complete then you should review the checklist for grading criteria before turning in your work. Complete and submit the online rubric for this project once it has been completed. Take a photo of yourself or find a close of shot of a famous person online. Open a new file in Illustrator. Choose Print as the new document profile, and choose the landscape (horizontal view) icon for the orientation. File>Place your photo image in Illustrator. Use the pen tool to trace the image and fill in the outline with color. Utilize multiple layers. Concentrate on shading techniques to make the image as life like as possible. Pay attention to detail on how light is cast upon skin and clothing. Save as last name+first initial+portrait as an .ai file and as a .jpg file. Submit the .jpg and place a copy in your portfolio folder. Grading Criteria Checklist
This project is due on the date outlined in the syllabus. When you complete all work, work on the Xtra Credit projects. |
Example Projects:Tutorial Link
1. Tracing a Vector Face From a Reference Photo 2. Adobe Illustrator CC - Line Art Tutorial - Tips andTricks 3. Drawing and Coloring Tutorial for Adobe Illustrator 4. Drawing hair | ||
InDesign - College PamphletGraphics - InDesign
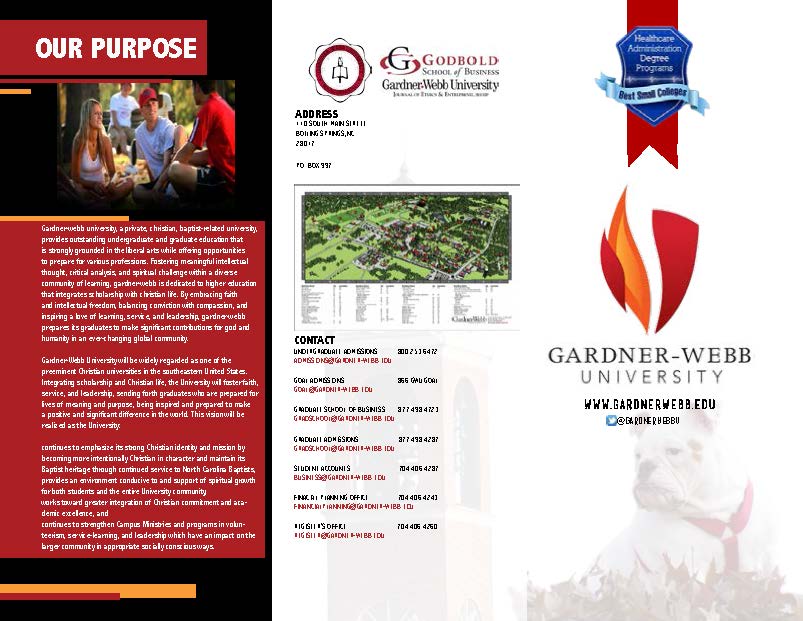
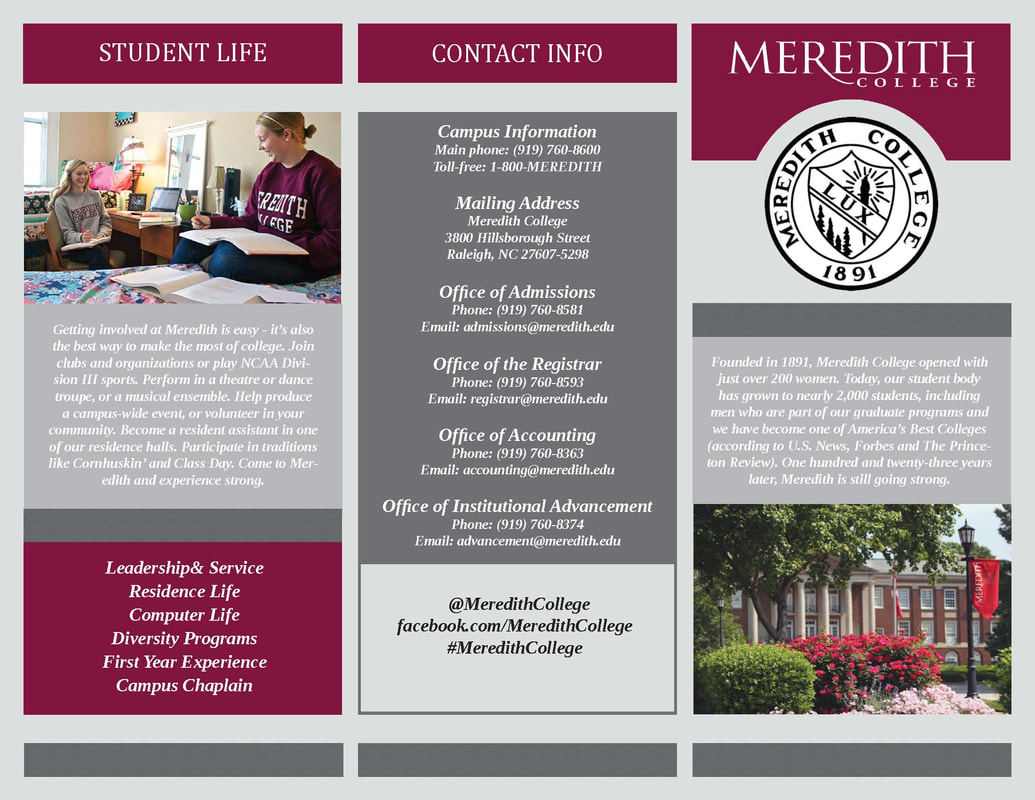
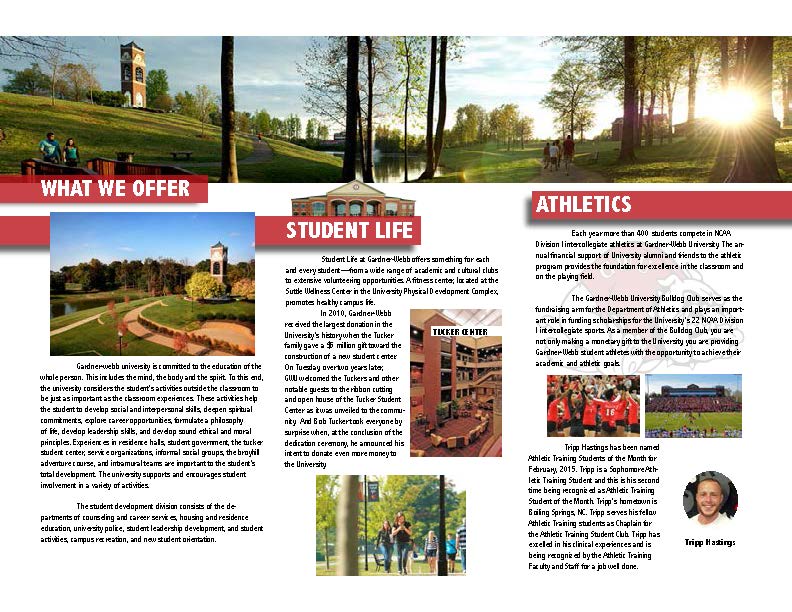
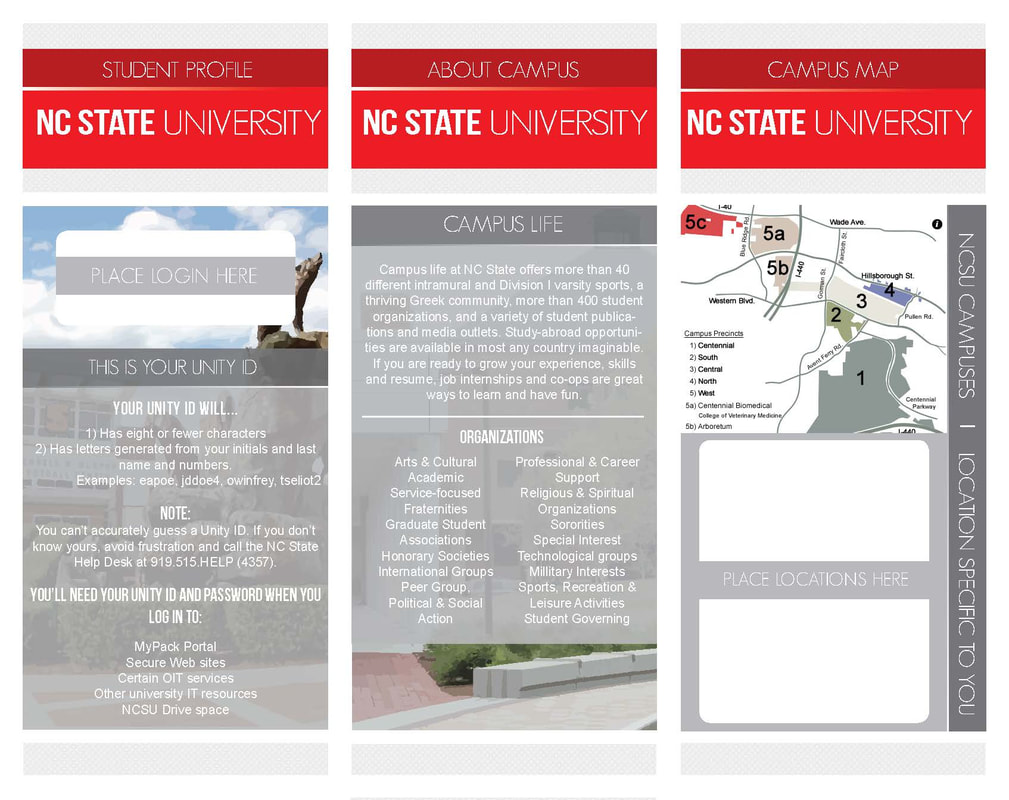
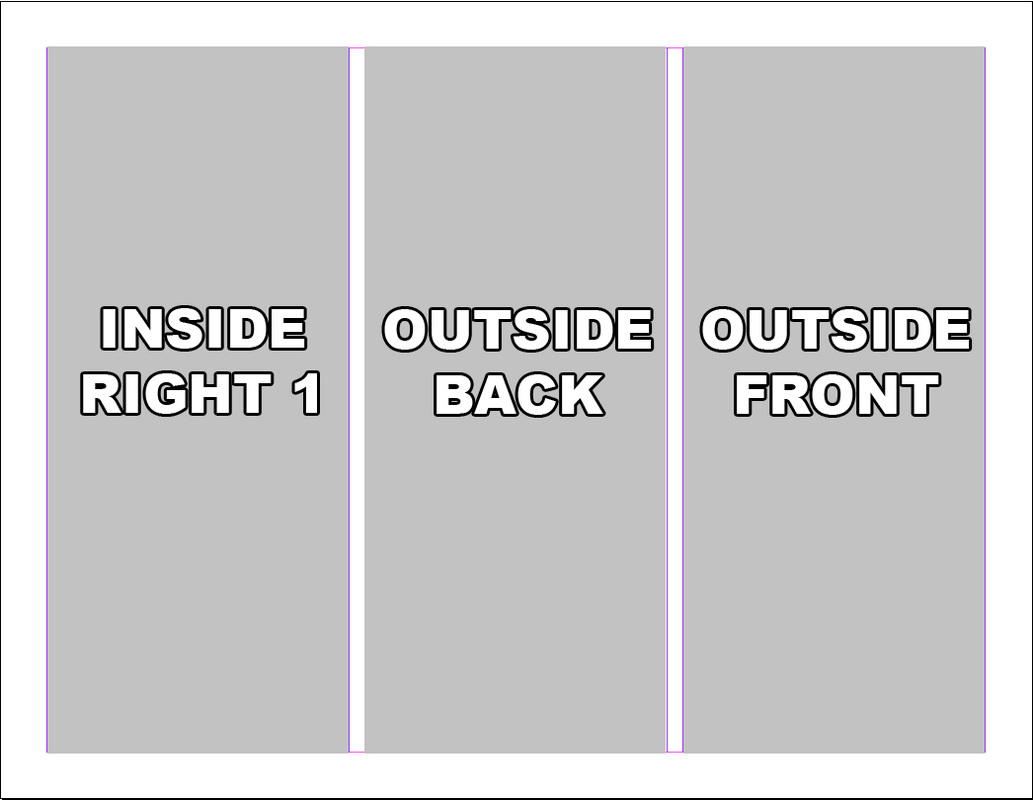
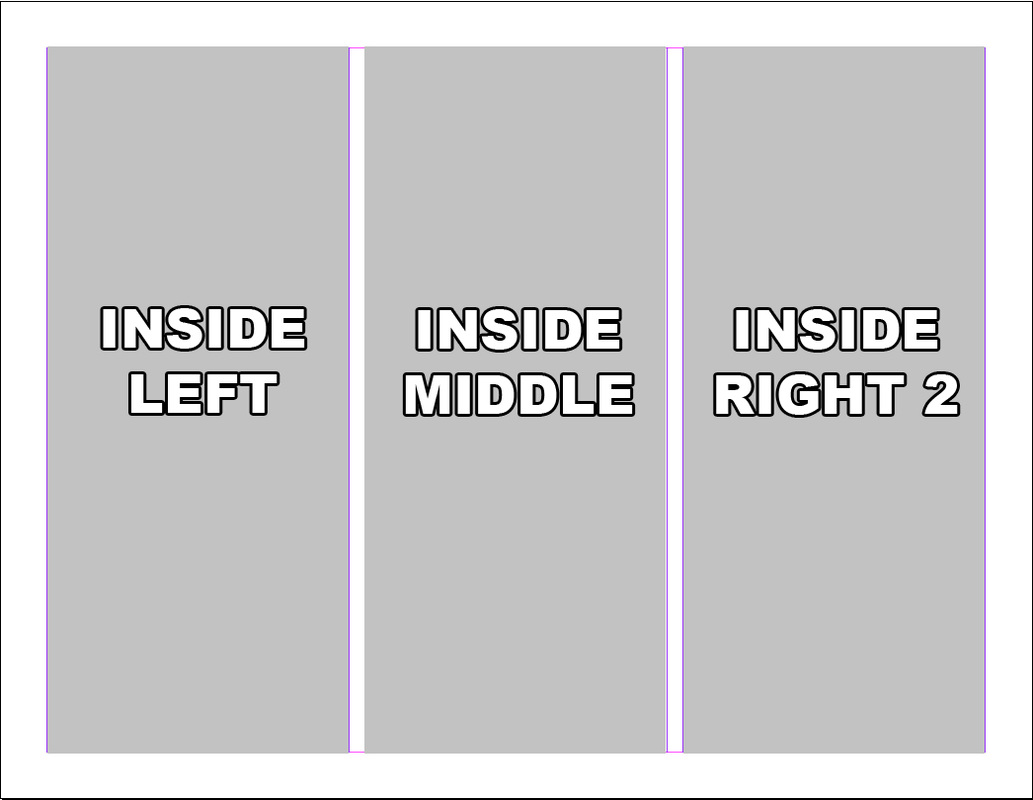
Essential Standard - 203 Essential Question: How do you create a tri-fold pamphlet using a page layout graphic editing program? Objective: Use InDesign to learn the tools of printing graphic design and page layout. Assignment: You have been hired as a graphic designer by Trifold America. They want you to design a pamphlet (flyer) to promote a college or university. You are to follow the directions given by the project manager for the target audience to complete the project. Once complete then you should review the checklist for grading criteria before turning in your work. Complete and submit the online rubric for this project once it has been completed. Open this folder, to view the basic tutorial on how to use InDesign. You are creating a tri-fold pamphlet to promote a college or university of your choice. Create a 2 page layout complete with 3 columns. Add text information, photos and images that relate. Make the dimension size landscape. Things to include: - Use only 2 different font types (maintain consistency with headlines and then with article fonts) - Include at minimum of 4 images from the school - Include the school logo (find high res online) - Include contact info and web address to their official websites - Include Facebook and Twitter information Spelling will be counted and points will be deducted for misspelling and poor grammar. Add color and use balance to create a professional design. Save as last name+first initial+pamphlet as an INDD file and as a PDF file. Submit the PDF and place a copy in your portfolio folder. Grading Criteria Checklist 1 - Used high resolution images for the project (NO blurry, pixelated) 2 - Layout is standard paper size in landscape format designed as a tri-fold pamphlet 3 - Pamphlet designed in a manner that is visually pleasing, balanced, and creates an interest in the topic 4 - Contact info and web sites included 5 - Color and layout consistent 6 - Consistent fonts used that are appropriate for the target audience and easy to read 7 - Logo is included 8 - Facebook and Twitter information is included 9 - Graphic file is saved as a INDD file and exported as a PDF format as instructed 10 - Final graphic file is submitted as a PDF format with the instructed name for the project This project is due on the date outlined in the syllabus. When you complete all work, work on the Xtra Credit projects. |
Example Projects:Correct Tri-Fold Layout:InDesign Basics Refresher
| ||||
Illustrator - Literature InfographicGraphics - Illustrator
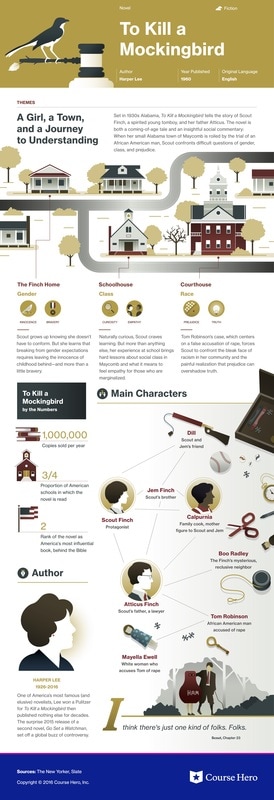
Essential Standard - 203 Essential Question: How do you create an infographic? Objective: Use Illustrator to learn the tools of infographics and printing graphic design. Assignment: You have been hired as a graphic designer by Novel Designs. They want you to design an infographic of a novel required in high school, to promote literacy. You are to follow the directions given by the project manager for the target audience to complete the project. Once complete then you should review the checklist for grading criteria before turning in your work. Things to include: - Graphic should have same look and feel as examples - Size should be in inches - 1 foot wide, 3 feet long - Creative fonts that fit the target audience and easy to read - Include original logo, name book, author, published date - Include themes, characters, symbols, author info, quote - Include a by the numbers area of statistical information - Include original informative character graphics/images relating to the concepts outlined from the story Spelling will be counted and points will be deducted for misspelling and poor grammar. Add color and use balance to create a professional design. Save as last name+first initial+infographic as an AI file and as a PDF file. Submit the PDF and place a copy in your portfolio folder. Grading Criteria Checklist 1 - All requirements of the graphic listed above have been met 2 - Layout is 1 foot wide by 3 feet long 3 - Infographic designed in a manner that is visually pleasing, balanced, and creates an interest in the topic 4 - Information is worded in own words not copied, except for the quote 5 - Color and layout consistent 6 - Consistent fonts used that are appropriate for the target audience and easy to read 7 - Logo, name book, author, publish date in header 8 - Themes, character, symbols, author info, stats, quote included 9 - Graphic file is saved as a AI file and exported as a PDF format as instructed 10 - Final graphic file is submitted as a PDF format with the instructed name for the project This project is due on the date outlined in the syllabus. When you complete all work, work on the Xtra Credit projects. |
Example Projects:Examples above are from coursehero.com for visual examples for educational ideas only. Do not copy these or any other works from their site, but rather use as inspiration for your educational learning experiences.
|
Photoshop - Social Media Mock-upsGraphics - Photoshop
Essential Standard - 203 Essential Question: How do you create social media outlets for business? Objective: Use Photoshop to create a social media presence for a business. Assignment: You have been hired as a social media specialist by Online Media. They want you to design and create a social media presence for their business clients. Create mock-up examples of various social media outlets for client approval. You are to follow the directions given by the project manager for the target audience to complete the project. Once complete then you should review the checklist for grading criteria before turning in your work. Things to include in the zipped folder to submit: - Mock up pages for facebook, twitter, instagram, tumblr, LinkedIn, Google +, and Pinterest. -Utilize a current business of your choice and create a social media outlet for them to connect to their customers Save all mock up images in a folder named last name+first initial+socialmedia, with each file inside named as last name+first initial+(the name of the socialmedia), example (pettywfacebook, pettywtwitter) as PSD files and as JPEG files. Submit a zipped folder of the JPEG files and place a copy in your portfolio folder. Grading Criteria Checklist 1 - Mockups for all 7 social media outlets have been produced 2 - Design constraints for each social media outlet have not been met. 3 - Real business and real imagery from that business was used 4 - Spelling and Grammar are correct 5 - Color and layout consistent 6 - Consistent fonts used that are appropriate for the target audience and easy to read 7 - Logo, present on all social media outlets 8 - Appropriate #hashtags, slogans, and @usernames are used 9 - Graphic file is saved as a PSD file and exported as a JPEG format as instructed 10 - Final graphic file is submitted in a zipped folder as a JPEG format with the instructed name for the project This project is due on the date outlined in the syllabus. When you complete all work, work on the Xtra Credit projects. |
Real Business Example:
Files for Project:
| ||||||||||||||||||||
Photoshop - iPod SilhouetteGraphics - Photoshop
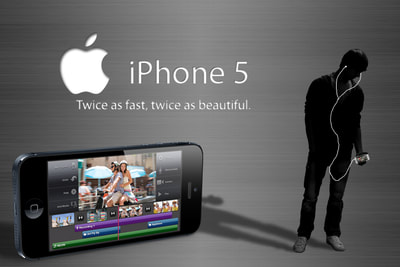
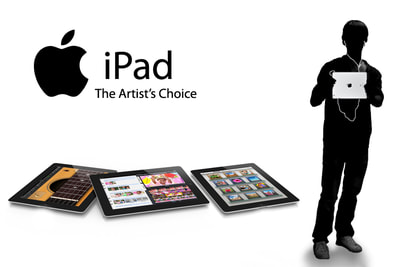
Essential Standard - 203 Essential Question: How do you create a vintage Apple iPod advertisement? Objective: Create 2 iPod silhouette advertisements of yourself using Photoshop. Assignment: You have been hired as a graphic designer by Apple. They want you to create a series of iPhone, iPod Touch, iPad, MacBook, etc Ads using the silhouette technique. You are to follow the directions given by the project manager for the target audience to complete the project. Once complete then you should review the checklist for grading criteria before turning in your work. Follow the tutorial below on how to create the iPod silhouette effect. You will perform this process on 2 different pictures of yourself. First take 2 different poses of yourself in front of the green screen using the digital camera that you can add an iPod/iPhone to later in Photoshop. Then take full length pictures of yourself and use a layer mask to cut out from background. Then follow the tutorial to make the silhouette effect and how to add the shadow to yourself. You will then include an iPod of your choice (shuffle, nano, video, iPhone, iTouch, etc.). You can get the iPod from the apple website, you do not have to make the iPod. Next add text using a font similar to the iPod text format for a catch phrase. Finally, you must include the apple logo somewhere on the ad. You are creating 2 ads so you need two poses and two different iPods to advertise. Size should be 720 x 480 pixels at 72 resolution. http://www.photoshoplab.com/make-your-own-ipod-style-photo.html Save the images as lastname+firstinitial+ipod1 (ipod2). Save as a PSD and JPEG. Submit only the JPEG version to the right. Add the final JPEGs to your Portfolio folder. Grading Criteria Checklist 1 - Used digital camera to get 2 full body pictures of yourself in two poses where you can put an iPod 2 - Images of people are cut out using layer mask and made into silhouettes 3 - iPod Ads are designed in a manner that is visually pleasing, balanced, and creates an interest in the topic 4 - Ads sized 720 x 480 pixels 5 - Two different ads created using different i-Devices 6 - Each ad has a font similar to that used by Apple for the iPod font 7 - Each ad has the current Apple logo 8 - Each ad has an original and different catch phrase 9 - Graphic file is saved as a PSD file and exported as a JPEG format as instructed 10 - Final graphic file is submitted as a JPEG format with the instructed name for the project on time. This project is due on the date outlined in the syllabus. When you complete all work, work on the Xtra Credit projects. |
Example Projects:File to Download:
| ||
Photoshop - Photo ManipulationGraphics - Photoshop
Essential Standard - 203 Essential Question: How do you alter a photograph using editing techniques? Objective: Utilize graphic design to transform an image Assignment: You have been hired as a graphic designer by "U", a teen magazine in Durham. They want you to touch up photographs that are taken by their photographers as well as old archive photos. You are to follow the directions given by the project manager for the target audience to complete the project. Once complete then you should review the checklist for grading criteria before turning in your work. The magazine needs 4 different final images. The first picture needed is of a young woman with wild hair. You ned to remove the white background behind her and place her on a picture of a sunset. The second image the magazine needs is a cropped image of a model. The image will need work done to improve the overall look. Also the model had a lip ring and an eyebrow stud that will need to be removed. Follow the tutorial to get everything they need completed. Third another photo of a model needs to be adjusted. The colors of the image are off and you will need to correct the picture. Finally there is a need for a composited image. Download the Photo Manipulation Example so you can see what is expected of you. Using the skills from the tutorials you performed you need to create a composited image from a minimum of four pictures. Your composite image can be about anything you want but all images must look real. It must be 1080 X 720 with a resolution of 300 dpi. Save the images as lastname+firstinitial+photoedit1 (photoedit2, etc.). Save as a PSD and JPEG. Submit only the JPEG version to the right. Add the PSDs & final JPEGs to your Portfolio folder. Grading Criteria Checklist 1 - Used Internet to find high resolution images online for the project (NO blurry, pixelated, or copyright info) 2 - A pictures turned in followed the expectations of the tutorials. 3 - All images cut out cleanly using layer masks only. No deleting 4 - In the masking tutorial hair is not cut off and no white background is seen. 5 - In the 4 tips tutorial the model has piercings gone and hair is improved. The image is cropped correctly. 6 - In the color correction tutorial the flesh tone of the model is correct and the image doesn't have a colored tint. 7 - The composited image is 1080 X 720 at 300 dpi. 8 - Composited image uses all the skills from the previous tutorials. 9 - Graphic file is saved as a PSD file and exported as a JPEG format as instructed 10 - Final graphic files are submitted as a JPEG format with the instructed file name on time |
Photo TutorialsFiles To Download
| ||||||||
Illustrator - T-Shirt Design ChallengeGraphics - Photoshop Essential Standard - 203 Essential Question: How do you create a t-shirt design? Objective: Utilize graphic design to create an image for the front and back of a t-shirt based on client needs. Assignment:Real World Explorations Florida Trip 2018 T-Shirt Design Contest Your job is to design a shirt that will be given to all Real World Exploration students (not just from our school) for the 2018-2019 school year, focusing on the “Mission to Mars” part of the trip. Here’s some information about the trip in general and how the “Mission to Mars” is incorporated: NASA and Kennedy Space Center's new multi-million dollar Mars learning lab will be included in our upcoming Real World Explorations dates. Many STEM & STEAM learning applications are featured in the simulated liftoff, landing, and colonization of Mars! Student activities include the use of simulators, virtual reality, walking on Mars, robotic challenges, and space agriculture. The Mission to Mars will involve one complete day during our 4-day expedition. The other three days will be devoted to Mote Marine Laboratory, Epcot's Future World, Florida Polytechnic University and the Ringling College of Art & Design. These three days will include sessions and activities involving driverless technology, ocean research and tracking, environmental studies, animation, game design, horticulture, virtual reality, solar energy, robotics, digital filming, engineering, and computer science. Other specifications from Real World Explorations:
Save the images as lastname+firstinitial+RWEshirt(front)(back). Save as a AI and PDF. Put both the front design and the back design in a folder named lastname+firstinitial+RWEshirt and Zip and Submit only the folder to the right. Add the AI & final PDF to your Portfolio folder. Grading Criteria Checklist 1 - NO images are used from the web as is 2 - Consistent color scheme is designed 3 - Design has a creative font choice fitting of target audience. 4 - RWE logo has been included somewhere on shirt 5 - All specifications listed above by Real World Explorations have been followed 6 - In the color mode is CMYK 7 - The designed image is 8.5 X 11 inches at 300 dpi. 8 - Designed created for the front and back of shirt 9 - Graphic file is saved as a AI file and exported as a PDF format as instructed 10 - Final graphic files are submitted in Zipped folder as a PDF format with the instructed file name on time This project is due Friday - April 27th Prizes will be awarded to the top 3 designs! |
Files To Download
| ||||||||
